Apple Macintosh
Modern Macs have an Ethernet network adapter built-in. In some cases they have the MAC Address printed on the bottom of the case. If not, you can obtain this address from the network configuration software that you use to configure your Mac. When referring to network or Ethernet adapters, MAC stands for Media Access Control, and isn’t related to the Mac as in Apple Mac!Finding Your MAC Address in Apple Mac OS X 10.5 Snow Leopard
1. Open the Apple Menu from the menu bar at the top of the screen. Click ‘System Preferences’.


Finding Your MAC Address in Apple Mac OS X 10.0
The first stage is to find your Hardware Address. All necessary software is part of the Mac OS X default installation. You should not need to make additional installs.To find your hardware address:


Finding Your MAC Address on Mac OS 8 & 9
Start up the “TCP/IP” control panel (Found within the Control Panels item revealed by clicking on the apple in the top left corner).
Select `Get Info` item from the `File` menu and another info pane will appear.

The TCP/IP details required (e.g. IP address, subnet mask) will now automatically be assigned to your Mac from a network (DHCP) server. You are now configured to use your Halls network. You now need to setup your Internet Browser Software.
Windows 7
You need to open the command prompt application. From the start menu, enter Cmd in the search window. The Command Prompt Application will appear in the Results Pane. Double click it to launch the application.

Windows Vista
You need to open the command prompt application. From the start menu, enter Cmd in the search window. The Command Prompt Application will appear in the Results Pane. Double click it to launch the application.

Windows XP
For computers running these more recent versions of Windows, this information can be obtained by opening the command prompt (MS DOS) application. This application is usually found under the “accessories” program folder accessible from the start menu. Type in the command line “ipconfig /all” and press enter.

Spotlight can also be used in open and save dialogs.

The control panel has been revised to use forward and back buttons and includes a search function. Type in a keyword and it will highlight the control panel options you are most likely looking for.
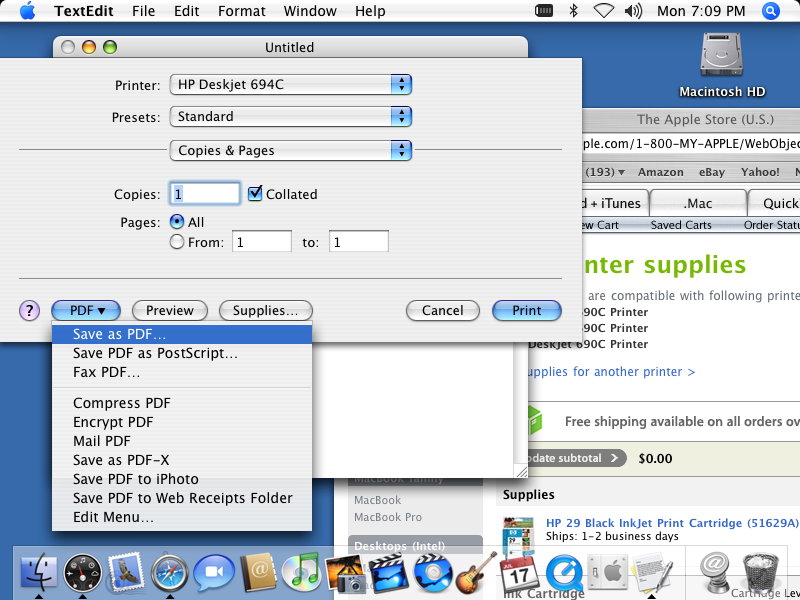
The Print dialog has been rearranged to use a pop-up menu for PDF functions. Reportedly many people don't like this because pop-up menus from buttons are not standard controls in Mac OS X. I don't have anything against such menus but in my opinion the functions of this menu could be organized better. You can also now easily purchase supplies for your printer right from the Mac OS X print dialog. From Apple's store of course.
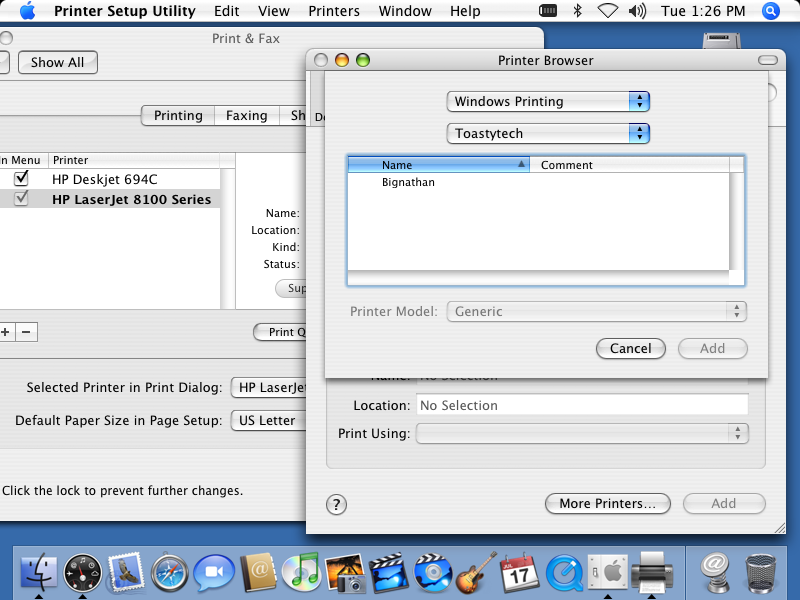
Surprisingly it works very well talking to a network shared Windows printer. My only real gripe is that it doesn't let you type in the server name if the server does not show up in the list of available servers.
This can easily happen if your Mac is configured for a different workgroup than your PC(s). And it is not immediately obvious how to change the workgroup on the Mac. The Windows workgroup is not specified in the control panel but rather using the utility "Directory Access" under its SMB/CIFS configuration.
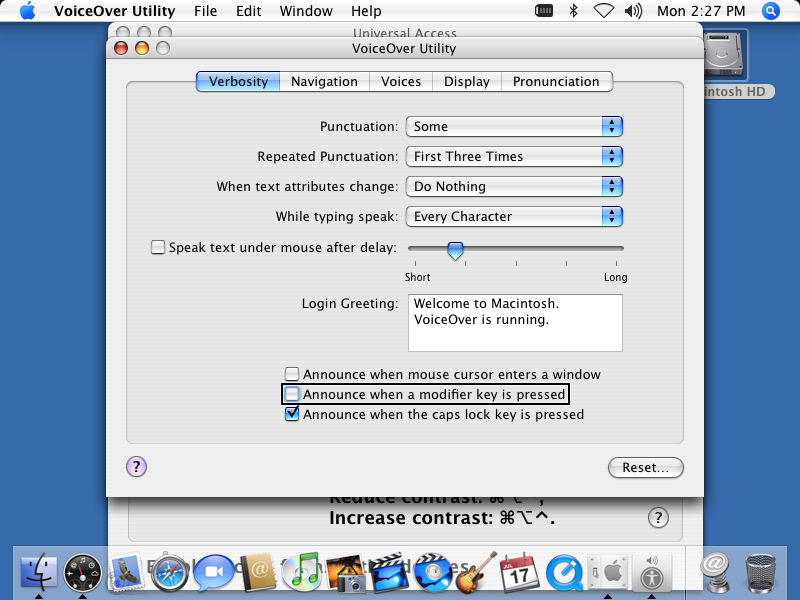
VoiceOver is a new accessibility feature that enables the Mac to speak the text of selected items in dialogs and actions that occur.

The Automator is a handy way of pulling together applications within the GUI.
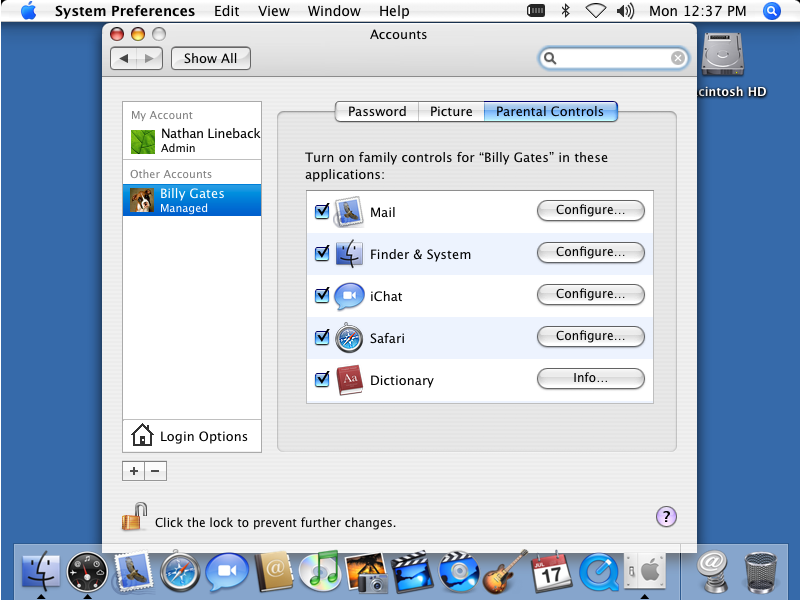
Formerly called "Limitations" the new "Parental Controls" provide extra ways to lock down applications, such as limiting who a user may chat with using iChat or send e-mail to.
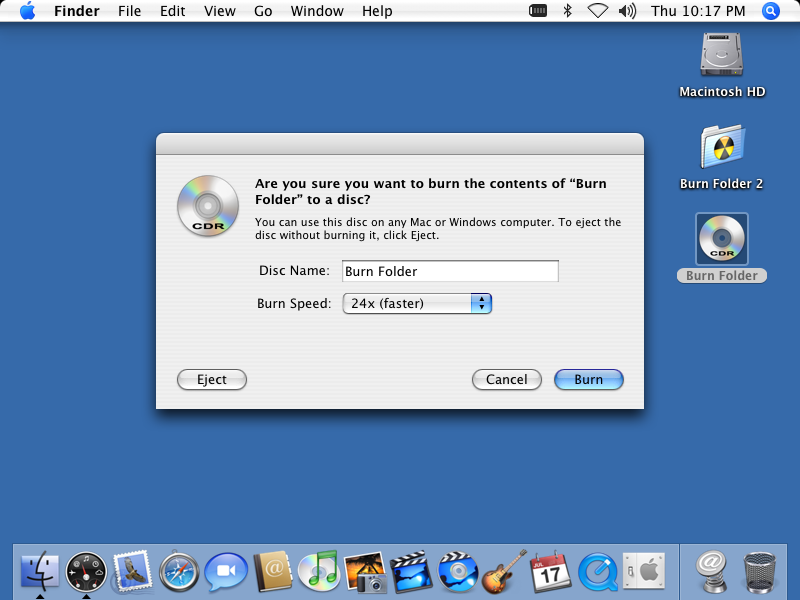
You can now create special "burn folders" directly from the Finder. These folders can then be easily burned directly to a CD or data DVD.
Tidak ada komentar:
Posting Komentar